A hot water tank flood can move fast, soaking floors, walls and belongings before you have time to react. Put safety first: avoid standing water near electrical outlets, and shut off the water supply only when it is safe to do so. If flood water has reached electrical equipment or the leak is severe, contact an emergency service. A qualified service professional can determine whether an electric water heater, heating connections or water tanks require repair or need to be replaced. Here’s how to identify the source, contain the flood, limit damage and plan the right repairs.
A hot water tank flood requires fast, safe action: avoid electrical hazards, shut off the heater’s water supply, contain standing water, and identify whether the leak is from a connection, valve, or failed tank. Moisture can spread into walls, flooring, insulation, and ceilings, so professional drying and repair may be needed. Prompt inspection, proper restoration, and routine maintenance help prevent extensive damage.
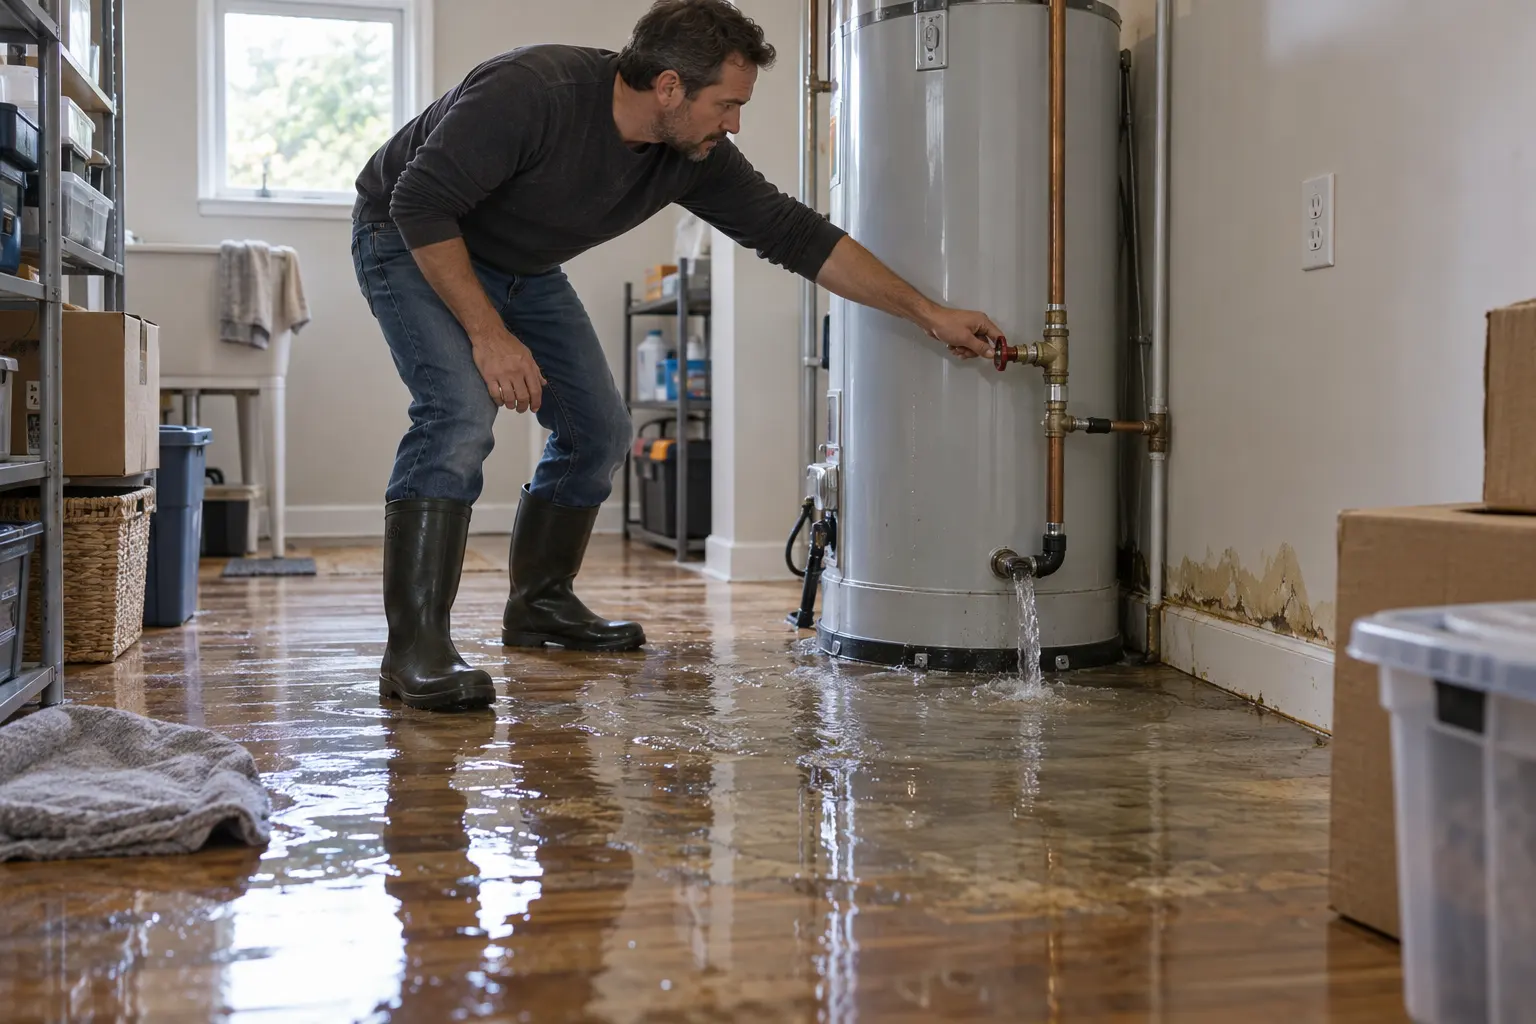
A hot water tank flood can transform a small puddle into soaked flooring, damaged drywall, and a stained ceiling below in very little time. As a water damage restoration contractor, I have seen homeowners lose valuable time trying to determine whether they are dealing with a minor connection leak or a failed water heater. Start by stopping the water safely, protecting the electrical system, and limiting damage to the surrounding structure. At MrWalls Drywall & Painting, we help homeowners manage immediate water damage and the drywall and ceiling repair that may follow.
Keep people away from standing water, particularly around an electric water heater or where water has reached outlets, extension cords, appliances, or electrical panels. Do not step into flood water if you suspect an electrical hazard. If you can reach the breaker panel without crossing wet areas, turn off power to the water heater. For a gas unit, do not operate switches or use open flames near a suspected gas leak. If you smell gas, leave the area and call the gas utility or emergency service from outside.
Next, shut off the cold-water supply to the tank. Most water tanks have a valve on the pipe directly above the unit. Turn a wheel-style valve clockwise. For a lever valve, rotate it until it is perpendicular to the pipe. If the valve is stuck, inaccessible, or does not stop the flow, use the home’s main water shutoff. This may temporarily cut off water to the rest of the house, but it can prevent a far larger flood. Once the supply is off, open a nearby hot water faucet to relieve pressure and confirm that the flow has slowed.
Contain the water if it is safe to do so. Move boxes, furniture, rugs, and stored items out of the affected area. Use towels, a mop, or a wet/dry vacuum for shallow water on hard surfaces. Do not use a household vacuum. If water has reached finished flooring, walls, or a ceiling, surface cleanup alone is not enough. Wet insulation, drywall, and framing can retain moisture long after the floor appears dry. Prompt extraction and drying can reduce swelling, mold growth, and the need for more extensive demolition.
Before assuming the tank has failed, inspect the source closely. A leak at the cold-water inlet, hot water outlet, pressure-relief valve, drain valve, or pipe connection may be repaired by a licensed plumber. Condensation can collect around a tank in humid conditions, but it typically will not create a significant flood. Also check for water coming from above the unit. A leaking pipe, roof penetration, or appliance drain line can resemble a water heater problem.
If water is coming from the bottom seam or pooling beneath the tank after the supply is shut off, internal corrosion is a likely cause. Older water tanks can rust from the inside out. A ruptured tank generally needs to be replaced, not repaired. Rust-colored water, popping or rumbling sounds, inconsistent hot water, and corrosion around the base can all indicate that the water-heating unit is nearing the end of its service life.
Once the plumbing issue is under control, inspect the surrounding materials. Look for wet baseboards, soft drywall, bubbling paint, damp insulation, warped flooring, and ceiling stains in rooms below. Photograph the affected areas before removing materials, especially if you plan to file an insurance claim. Our team can assess moisture migration, remove damaged drywall where needed, dry the area properly, and complete clean, matched drywall and ceiling repair once the space is stable. If the flood is extensive, calling a restoration emergency service promptly can help keep a contained repair from becoming a larger renovation.
| Priority | What to do | When to stop and call for help |
|---|---|---|
| 1. Protect against electrical or gas hazards | Keep people away from standing water. Do not enter flood water if it has reached outlets, cords, appliances, panels, or an electric water heater. Turn off power at the breaker only if you can reach it without crossing wet areas. | If you smell gas, leave the area and call the gas utility or emergency service from outside. Do not operate switches or use open flames near a suspected gas leak. |
| 2. Shut off the water supply | Close the cold-water supply valve above the tank. Turn a wheel valve clockwise or position a lever valve perpendicular to the pipe. Use the home’s main water shutoff if the tank valve will not stop the flow. | Call a licensed plumber if a leaking inlet, outlet, pressure-relief valve, drain valve, or pipe connection needs repair. |
| 3. Relieve pressure and contain water | Open a nearby hot-water faucet to relieve pressure and check whether the flow slows. Move belongings away, then use towels, a mop, or a wet/dry vacuum for shallow water on hard surfaces. | Do not use a household vacuum. Contact a restoration emergency service promptly if water has spread under flooring, into walls, or through a ceiling. |
| 4. Check for the likely source | Look for water coming from connections, above the unit, or from the bottom seam of the tank. Note rust-colored water, rumbling sounds, inconsistent hot water, and corrosion around the base. | Professional assessment is needed when water pools beneath the tank after the supply is off, since internal corrosion or a ruptured tank may require replacement. |
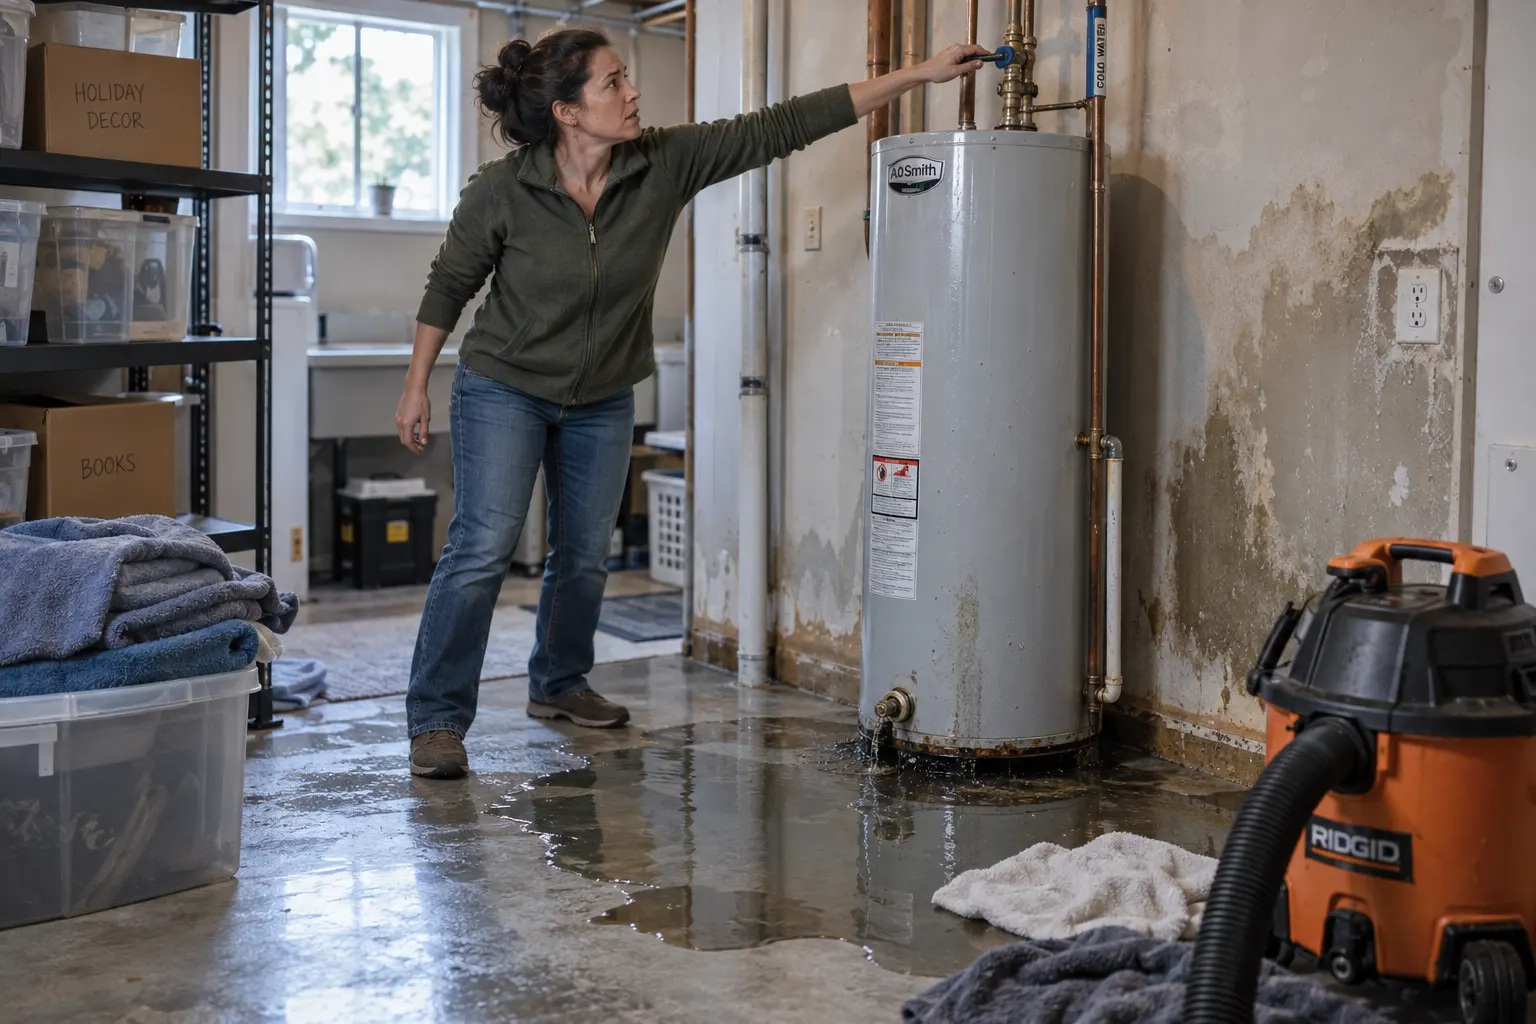
A leaking hot water tank can damage far more than the floor beneath it. In the homes we inspect, water can move quietly through baseboards, beneath flooring, into wall cavities, and across the ceiling below. At MrWalls Drywall & Painting, we approach hot water tank flood restoration as both a drying and repair project. First, stop the source. Then, protect the structure, dry affected materials thoroughly, and restore finished surfaces so the area is safe, sound, and finished properly.
Begin by making the situation safe. If water is actively leaking from the tank, its connections, or the temperature-pressure relief valve, shut off the supply to the water heater if it is safe to do so. Turn off power at the breaker for an electric water heater. For a gas unit, follow the manufacturer’s shutoff instructions or contact a qualified plumber. Avoid standing water near outlets, appliances, or a sagging finished ceiling. A bowed drywall ceiling can hold a surprising amount of water and may fail without warning.
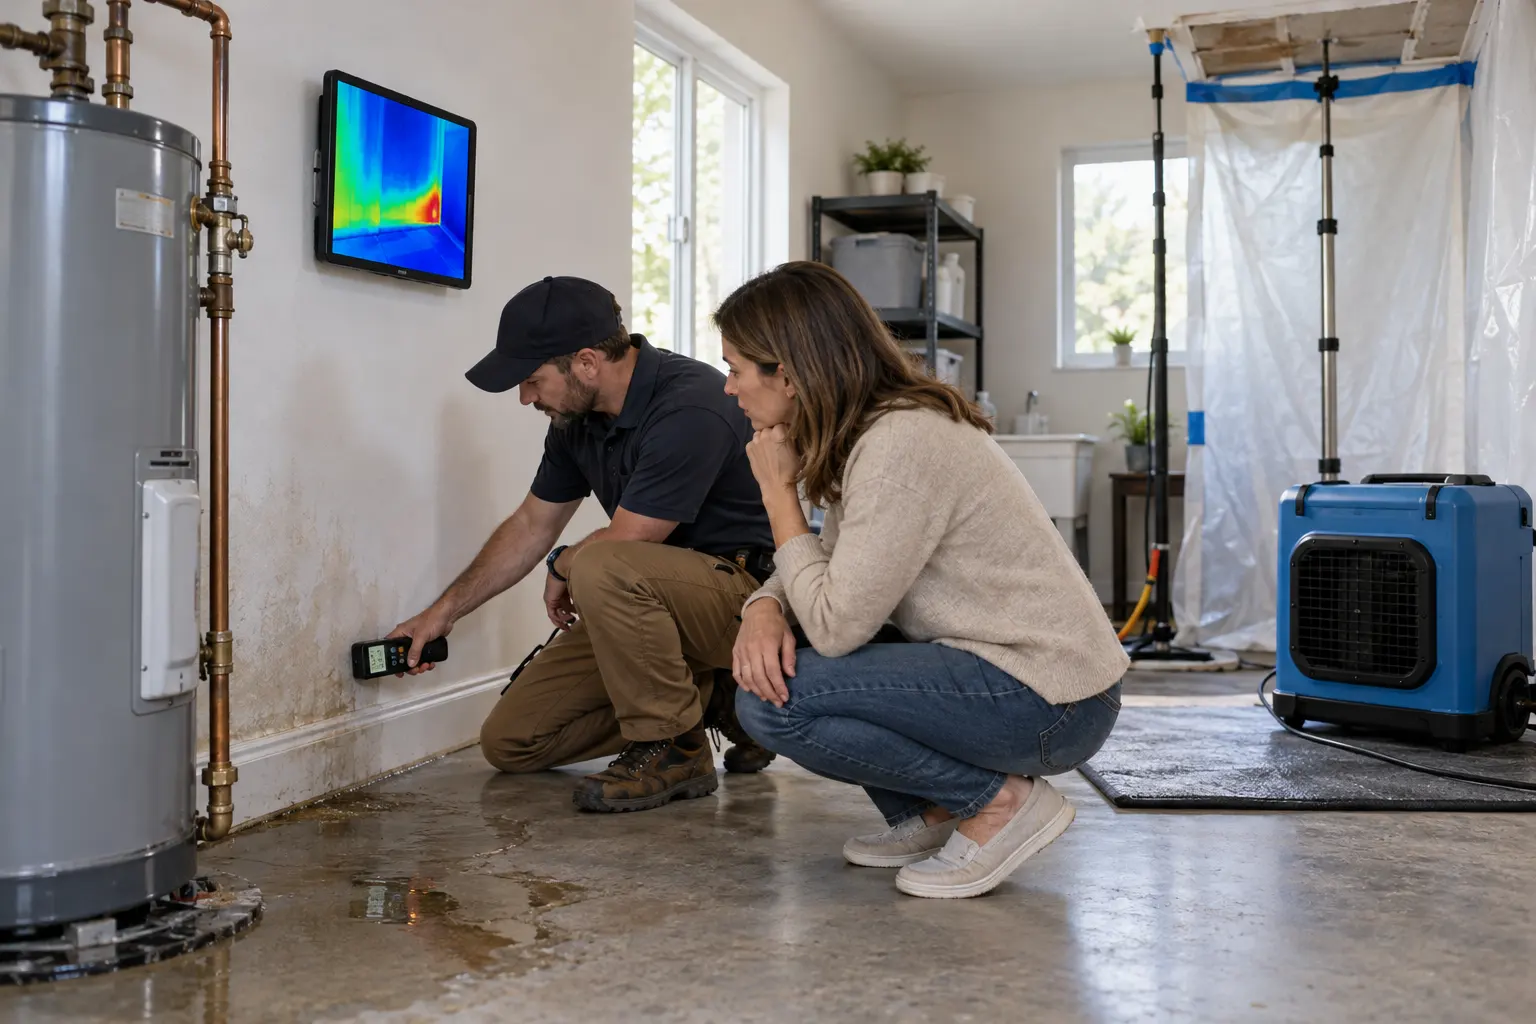
Once the leak is stopped, look beyond the visible puddle. Water may have wicked into drywall, insulation, trim, subflooring, or cabinetry. We use moisture meters and thermal imaging to map damp areas behind finished surfaces. This allows us to determine what can dry in place and what should be opened, removed, or replaced. Drywall that remains sound and dries promptly may be repairable. Swollen, crumbling, mold-affected, or flood water-contaminated material is generally safer to remove.
Proper drying requires more than a household fan. Effective restoration relies on controlled airflow, dehumidification, and regular moisture checks. The objective is to return framing, drywall, and flooring toward normal moisture levels without sealing dampness behind paint or new finishes. Wet insulation often loses its effectiveness and can keep a wall or ceiling cavity from drying. Selective removal may be necessary to allow the structure to dry completely. We also protect clean areas with containment when appropriate, particularly when opening a ceiling below a leaking water heater.
After drying, repairs should restore appearance and durability. Ceiling repair may include removing damaged drywall, installing new board, taping joints, matching texture, priming stains, and repainting. Wall repairs can include new drywall sections, baseboard replacement, and precise paint blending. If water tanks are located above a finished room, the ceiling below deserves special attention. Even a faint brown ring or peeling paint can indicate moisture that has not been fully resolved. Painting over a stain before the substrate is dry only postpones the real repair.
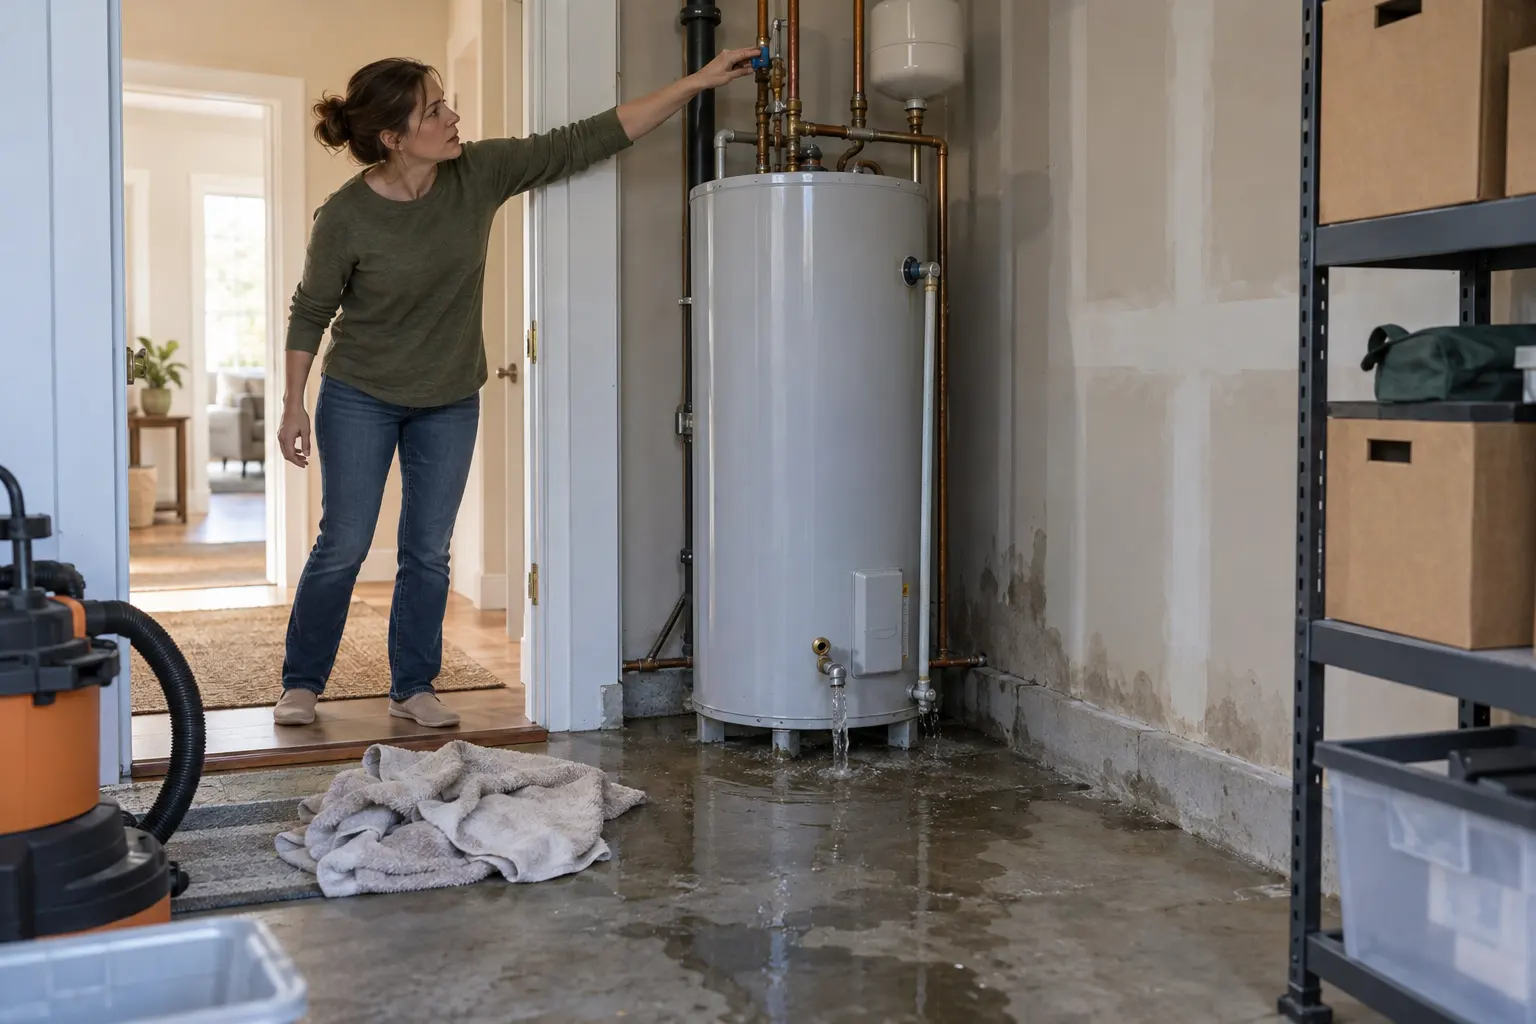
The plumbing issue also needs a lasting solution. Depending on its age and condition, the water heater may need a valve, supply line, drain connection, or expansion component repaired. In some cases, aging units are better replaced than patched repeatedly. A licensed plumbing professional can assess the tank and its connections. Our team handles the moisture investigation, drying coordination, drywall contractor work, and finish restoration that follow. Coordinating these steps helps prevent a new leak from undoing recent repairs. If the situation is urgent, seek emergency service before damage spreads.
Prevention is straightforward and worthwhile. Check the area around your heater each month for rust, drips, damp insulation, and mineral buildup. Make sure the drain pan is correctly sized and routed where local conditions allow. Keep the relief-valve discharge line clear and properly terminated. Replace old flexible supply hoses before they fail, and have the unit serviced according to the manufacturer’s recommendations. If your water heater is in an attic, closet, or upper-floor utility space, consider a leak alarm with automatic shutoff. It is a modest safeguard against a major flood and extensive ceiling or drywall damage.
If you discover a leak, act quickly, but do not assume the damage is limited to what you can see. MrWalls Drywall & Painting provides practical inspection, drying coordination, drywall repair, ceiling repair, and repainting service for homeowners who want careful restoration. Good restoration also supports your home’s heating and water systems indirectly, because dry, sound finishes make future issues easier to spot before they become another costly surprise.
Stay clear of standing water if electrical equipment, outlets, or wiring may be affected. Shut off power to an electric water heater at the breaker if it is safe to reach, then close the cold-water supply valve above the tank. If the valve will not stop the flow, turn off the home’s main water supply and call a qualified plumber.
Check the inlet and outlet connections, pressure-relief valve, drain valve, and nearby pipes for drips. Water from the bottom seam or beneath the tank may indicate internal corrosion and tank failure. Also check for water coming from above, since a leaking pipe, roof issue, or appliance drain can resemble a water heater leak.
Leaks at fittings, valves, supply lines, or the pressure-relief valve may be repairable by a licensed plumber. A tank leaking from its base or internal seam usually needs replacement, especially when corrosion, rust-colored water, rumbling sounds, or inconsistent hot water are present.
Drying time depends on how much water escaped and which materials were affected. Hard surfaces may dry quickly, but drywall, insulation, framing, subflooring, and ceiling cavities can retain moisture for days. Professional moisture testing, controlled airflow, and dehumidification help confirm that materials are dry before repairs begin.
Not always. Drywall that is only lightly affected and dries promptly may be repairable. Swollen, soft, crumbling, mold-affected, or heavily saturated drywall should generally be removed. Wet insulation may also need selective removal so the wall or ceiling cavity can dry properly.
Yes. Water can travel through floor openings, walls, and framing to stain or saturate the ceiling below. A sagging or bowed drywall ceiling may contain trapped water and can fail unexpectedly. Keep people clear of the area, stop the leak, and have the ceiling assessed before patching or repainting.
Coverage depends on the policy and the cause of the loss. Sudden, accidental water damage may be covered, while damage connected to long-term leaks, neglect, or normal wear may not be. Photograph the affected areas, document the source, keep repair records, and contact your insurer promptly.